
Blynk 서버는 java로 구현되어 있어 설치하려면 먼저 java 8이 설치되어 있어야만 한다. 현재 설치되어 있는 버젼을 확인하려면 다음과 같이 하면 된다.
% java -version
Output: java version "1.8.0_40"
설치되어 있지 않거나 버젼이 낮은 경우 다음과 같이 설치해 주면 된다.
% sudo apt-get install oracle-java8-jdkJava 8이 설치되었으면 서버를 다운받는다.
% wget "https://github.com/blynkkk/blynk-server/releases/download/v0.13.0/server-0.13.0.jar"다운이 완료되면 바로 실행할 수 있다.
% java -jar server-0.13.0.jar -dataFolder ~/Blynk 이 경우 디폴트 하드웨어 포트는 8442, 디폴트 어플리케이션 포트는 8443(SSL port)가 된다. 실행하고 잠시 기다리면 화면에 아래와 같은 메시지가 나오게 된다.
Blynk Server successfully started.
All server output is stored in current folder in 'logs/blynk.log' file.
만일 라즈베리 파이가 부팅될 때 blynk 서버가 자동으로 실행되게 하고 싶으면 /etc/init.d/rc.local 파일의 맨 끝 부분에 아래 줄을 추가해 주면 된다.
java -jar /home/pi/server-0.13.0.jar -dataFolder /home/pi/Blynk &아니면 다른 방법으로는 crontab을 이용할 수도 있다.
% crontab -e 위의 명령을 실행한 후 아래의 내용을 추가한 다음 저장하고 종료하면 된다.
@reboot java -jar /home/pi/server-0.13.0.jar -dataFolder /home/pi/Blynk &
위와 같이 실행하면 모든 설정이 디폴트로 실행되게 되는데 설정을 변경하고 싶으면 서버가 있는 디렉토리에 'server.properties' 파일을 만들어 설정 내용을 넣어주면 된다.
아래는 server.properties 예제 파일이다.
#hardware ssl port
hardware.ssl.port=8441

#hardware plain tcp/ip port
hardware.default.port=8442

#http port
http.port=8080

#web sockets ssl port
ssl.websocket.port=8081
#web sockets plain tcp port
tcp.websocket.port=8082


#https port
https.port=9443

#application ssl port
app.ssl.port=8443

#by default server uses embedded in jar cert to simplify local server installation.
#WARNNING DO NOT USE THIS CERTIFICATES ON PRODUCTION OR IN WHERE ENVIRNOMENTS REAL SECURITY REQUIRED.
#provide either full path to files either use '.' for specifying current directory. For instance "./myfile.crt"
server.ssl.cert=
server.ssl.key=
server.ssl.key.pass=
client.ssl.cert=
client.ssl.key=

#by default System.getProperty("java.io.tmpdir")/blynk used
data.folder=

#folder for logs.
logs.folder=./logs

#log debug level. trace|debug|info|error. Defines how precise logging will be.
log.level=info

#defines maximum allowed number of user dashboards. Needed to limit possible number of tokens.
user.dashboard.max.limit=10

#defines maximum allowed widget size in KBs as json string.
user.widget.max.size.limit=10

#user is limited with 100 messages per second.
user.message.quota.limit=100
#in case of consistent quota limit exceed during long term, sending warning response back to exceeding channel
#for performance reason sending only 1 message within interval. In millis
user.message.quota.limit.exceeded.warning.period=60000

#maximum allowed number of notification queue. Queue responsible for processing email, pushes, twits sending.
#Because of performance issue - those queue is processed in separate thread, this is required due
#to blocking nature of all above operations. Usually limit shouldn't be reached.
notifications.queue.limit=10000

#this setting defines how often we can send mail/tweet/push or any other notification. Specified in seconds
notifications.frequency.user.quota.limit=60

#maximum size of user profile in kb's
user.profile.max.size=128

#period in millis for saving all user DB to disk.
profile.save.worker.period=60000

#period in millis for saving stats to disk.
stats.print.worker.period=60000

#specifies maximum period of time when application socket could be idle. After which
#socket will be closed due to non activity. In seconds. Default value 600 if not provided.
#leave it empty for infinity timeout
app.socket.idle.timeout=600
#specifies maximum period of time when hardware socket could be idle. After which
#socket will be closed due to non activity. In seconds. Default value 15 if not provided.
#leave it empty for infinity timeout
hard.socket.idle.timeout=15

#Enables native socket transport for Linux using JNI. Should be turned on only if you 100% sure.
#may not work on some environments. Used to increase server performance. Performance boost is ~20-40%.
enable.native.epoll.transport=false

#Enabled native openSSL support for SSL handlers. Should be turned on only if you 100% sure.
#may not work on some environments. Used to increase server performance. Performance boost is ~16%.
#For more details see - http://netty.io/wiki/forked-tomcat-native.html
enable.native.openssl=false

#mostly required for local servers setup in case user want to log raw data in CSV format
#from his hardware
enable.raw.data.store=true

#size of async logger ring buffer. should be increased for loads >2-3k req/sec
async.logger.ring.buffer.size=8192


#ADMINISTRATION SECTION

admin.rootPath=/admin

#administration https port
administration.https.port=7443

#comma separated list of administrator IPs. allow access to admin UI only for those IPs.
#you may set it for 0.0.0.0/0 to allow access for all.
#you may use CIDR notation. For instance, 192.168.0.53/24
allowed.administrator.ips=127.0.0.1


#comma separated list of users allowed to create accounts. leave it empty if no restriction required.
allowed.users.list=
이제 설치한 로컬 서버를 사용하려면 먼저 스마트폰 앱을 실행하고 로컬 서버에 어카운트를 만들어 줘야 한다.

Create New Account 버튼을 누른다.

디폴트로는 blynk 서버에 어카운트가 만들어 지는데 여기서는 로컬 서버에 만들어야 하기 때문에 먼저 위에 표시한 버튼을 눌러준다.

로컬 서버를 지정해 준다. IP주소는 로컬 blynk 서버가 설치된 라즈베리 파이의 ip 주소이고 포트 번호는 따로 server.properties 파일에서 수정해 주지 않았다면 디폴트 어플리케이션 포트인 8443을 넣어주고 OK 버튼을 누른다.

이제 로컬 서버에서 사용할 어카운트 이름(이메일주소)와 암호를 입력하고 'Create New Account' 버튼을 누른다.
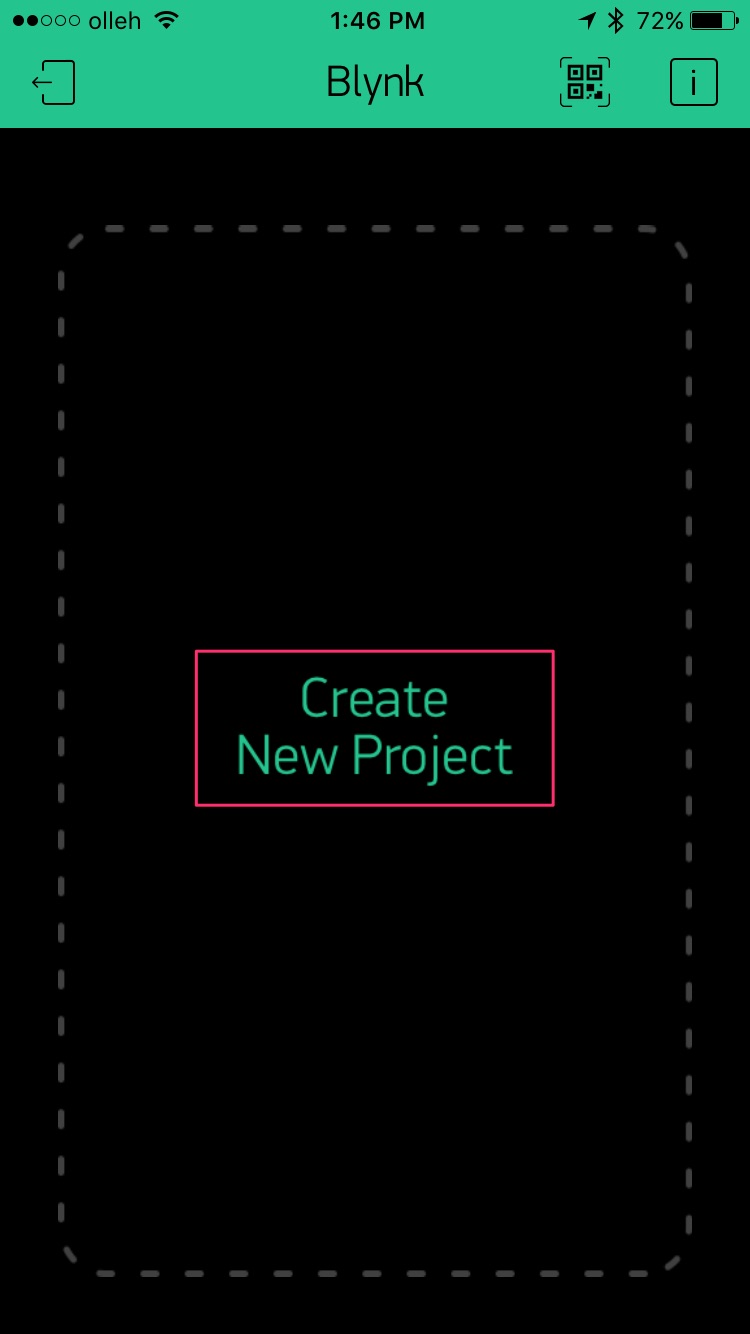
어카운트가 만들어 지고 자동으로 로그인이 되었다. 이제 'Create New Project' 버튼을 눌러 프로젝트를 만들어 주면 된다.

프로젝트 이름, 이 프로젝트에서 사용할 보드를 지정하고 'Create project' 버튼을 누르면 된다. 화면 중간에 AUTH TOKEN이라는 값이 있는데 (여기서는 53b32b....5996c95) 이 값이 일종의 암호 역할을 하기 때문에 보드의 프로그램 코드에 넣어줘야 하는 값이다.

이제 위에서 지정한 'test1'이란 이름의 프로젝트가 만들어 진걸 볼 수 있다.
하드웨어 보드의 프로그램 역시 blynk서버 대신 로컬 서버를 사용하도록 변경해 줘야 한다.
스케치 코드의 설정 부분에는 Blynk.begin(auth); 아니면 Blynk.begin(auth, ssid, pass); 가 들어 있는데 각각 뒤쪽에 로컬 서버를 지정해 줘야 한다. 즉 아래와 같이 수정해 줘야만 한다.
Blynk.begin(auth); -> Blynk.begin(auth, "hostname"); 또는 Blynk.begin(auth, IPAddress(192,168,0,222));
Blynk.begin(auth, ssid, pass); -> Blynk.begin(auth, ssid, pass, "hostname"); 또는 Blynk.begin(auth, ssid, pass, IPAddress(192,168,0,222));
위에서 auth는 프로젝트 생성시의 AUTH TOKEN값...즉 여기서는 "53b32b....5996c95" 이고, ssid, pass는 공유기의 SSID와 접속 암호가 된다. hostname 이나 IPAddress()의 파라미터 값은 각자 라즈베리 파이의 hostname 또는 IP주소로 바꿔줘야 한다.
댓글 없음:
댓글 쓰기